Grids
Help Home | System Home | Core | Errors |
The Grids option (found under Files on the main menu) will allow you to design your own grids and populate the grids with any information from your main data files. These grids can be created at any time. Any time you create a grid, you will name the grid, save the grid design and then display the grid any time you choose.
The examples shown in these help screens are from the ACS Utility Billing System. The folder names and data will be different depending on the system you are running, but the basics of how to create and use grids will be the same on all applications. As you review these instructions, go to the Grid option on the application you are running to see the data names, etc that are applicable to that application .
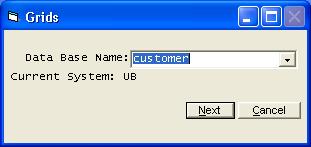
In utility billing, for example, you will have two different data files to pick from. The customer file contains all of the customer information. The transaction file contains all of the transactions on all customers. These data names will vary depending on the application you are running.
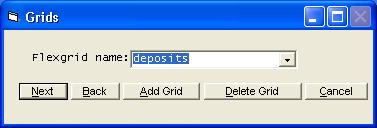
Once you have selected your data file, you will be shown a list of grids that have already been created. Select the grid you wish to access and press Enter or click Next. Back will allow you to select a different data base. The Add Grid option will allow you to set up a new grid. Normally you would want to keep the grids you have created, but if you need to remove a grid, highlight that grid name and use the Delete Grid option to remove the highlighted grid.
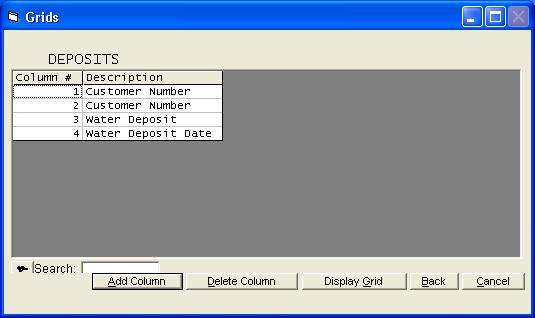
Once you select an existing grid, you can see the columns that are contained in the grid. At this point you would normally be ready to display the grid. Click on Display Grid to see the completed grid. You do have options at this point of add additional columns to the grid or delete any columns from the grid.
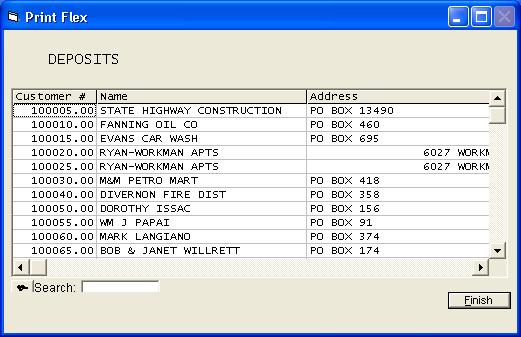
The grids have many features. The search option allows you to search for any piece of information that is displayed on the grid. For example, if you want to know who gets their mail at box 91, you could simply enter Box 91. The search information does not have to contain the entire contents of a column. It can be as little as 2 or 3 characters.
Click on the symbol to the left of search field. The auto-filter option will show drop down arrows at the top of each column. You can choose one of the items in the drop down list and the grid will be limited to just that criteria. You also have options to Print the grid or maybe send it to a spread sheet program or a text file.
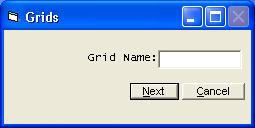
If you choose to add a new grid, you will first be asked the grid name. You can not use spaces within your grid name. Just use a name that you can easily identify, but one that is descriptive enough for someone else to also identify.

Once you enter the grid name, you will be given a list of all data that is contained in the data file to which you are assigned. The column number will be assigned automatically in the order you select the information you want displayed. You can change columns and insert columns by changing the column number.
To select the information you want displayed, use the drop down arrow and highlight your selection. Press Enter or click Add Column to add the column to your grid. The information contained in your data base file will be displayed in alphabetic sequence.
Click Finish when all columns have been added. Your new grid will be added to the list of grid names and you can then test your new grid.
Or check out our special User's Only site at: planetacs.net/user