Design Reports
Help Home | System Home | Core | Errors |
This payroll system has many reports that have been designed for you. The standard reports, such as the Payroll Register, can be run simply by selecting them from the Payroll System Options menu. The system has also been designed to give you the flexibility to design some of your own reports. Even though the reports you design will have limitations, the report generating feature of the system will allow you to design some very useful reports. There are also report design features contained in the Employee section of the menu. In many ways they are better than this Design Reports option, but you can only access and print payroll check information. This Design Reports from the menu will allow to access and print information from the main employee record and also from the department records.
This menu option is only used to design the reports. You must use the Print Designed Deports option under print on the menu to print these reports
Any report formats that you design will be stored in the report file. The system will allow you to have up to 99 different report formats in this file.
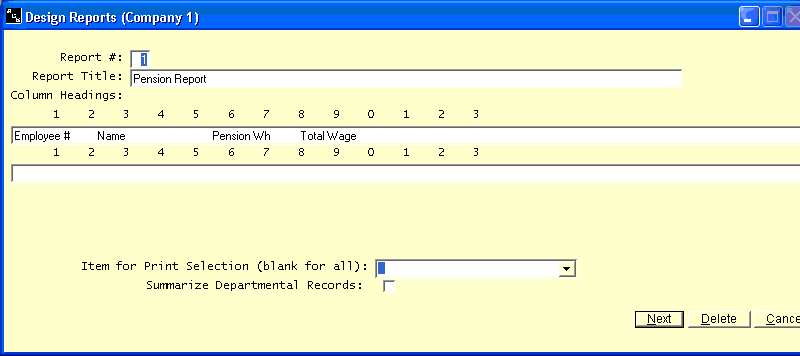
Report Number
The Report Number must be a number between 1 and 99. Each report record must contain this number. The Report Number will be used in accessing the records and in selecting the reports to be printed.
Report Title
The Report Title will appear at the top of each printed page of your report. This field can contain 78 characters.
Column Headings
The system allows you to have two lines of Column Headings. Each line can be 132 characters long. The information that is entered in these two fields will also be printed at the top of each page. Your Column Headings will simply be your description of the information that will be printed on the report. Each print position will be shown on the screen. It will be your responsibility to properly position the information in your column headings so it corresponds with the information you have selected to print on the report. If you do not have layout sheets or a print ruler, you may have to temporarily enter the column heading, run a test report, and then reposition your headings.
Item Number For Print Selection
This field will be used in conjunction with the print selection criteria. This field will be the number of the item in the master or department record on which you want to base your selection of the records to be printed. A list of the items that you can use for print selection and their associated item numbers are listed later in this section. Only item numbers that contain numeric information can be used as criteria for selecting the employees who are to appear on the reports.
Summarize Department Records
This field allows you to specify whether you want to summarize all departmental records for each employee or to print the selected information for every department for each employee. This field must contain either a 0 (do not summarize) or a 1 (summarize). For example, if you have an employee who has two departmental records and both records have pension withholdings, you can either select to have both records appear on the pension report or you can select to summarize the records into one entry for the employee.
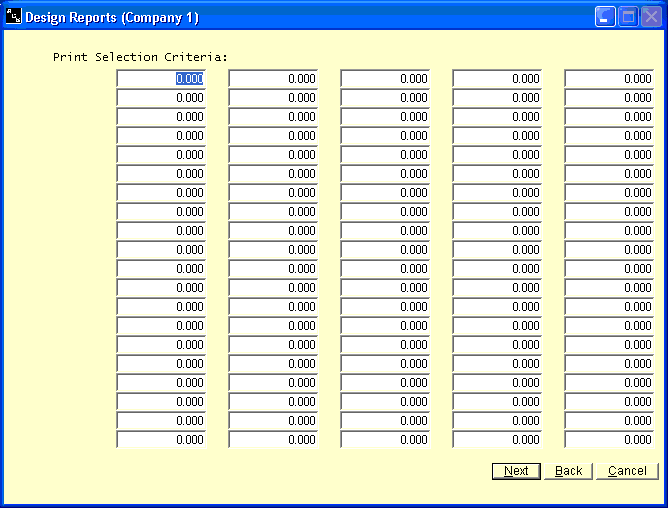
Print Selection Criteria
This field will be used in conjunction with the Item Number For Print Selection field. You can have a maximum of 100 items on each report as your selection criteria. The information that you enter in these fields will be compared to each master or departmental record in determining the employees who are to be printed on you report.
For example, if you want to print a report that selects employees with specific vacation pay codes, you would enter a 16 in the Item Number For Print Selection field, which corresponds to Vacation Pay Code. You would enter the specific vacation codes that you want to use in selecting the employees that are to be printed. For example, if you wanted only the employees with vacation pay codes of 1,16, or 32 to print, you could enter these three items as your selection criteria and only the employees with one of these three codes will be printed
The information that you use in selecting the employees for printing does not have to appear on your report. It is only used in the selection process.
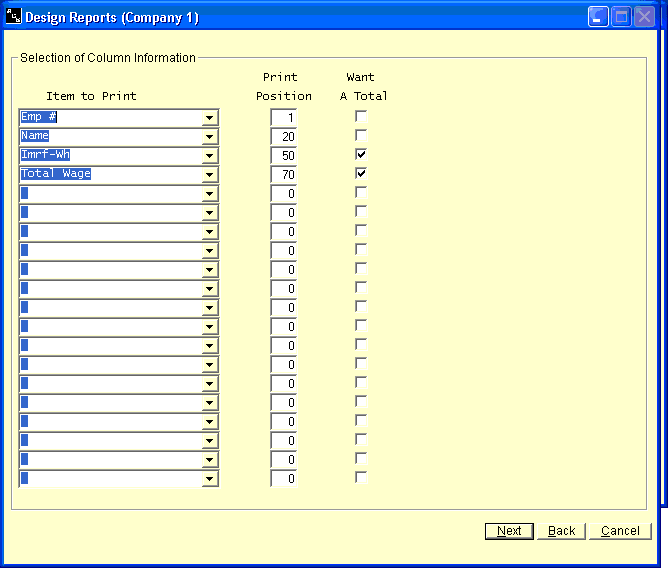
Item To Print
Select the information that should be printed in each column. You can have a maximum of 20 columns on your report.
Print Positions
The use of the Print Positions will allow you to indicate where each piece of information (column) will be printed on your report. As stated earlier, you can have up to 20 columns on your reports. Each of the 20 columns must have a corresponding starting print position. These will be the beginning position of each column of information. Care must be taken to make sure that the fields will not overlap. If, after you have designed and run your report, you find that the printer skips a line within an employees record, you have overlapped some fields and it will be necessary for you to skip some more space between the starting positions of your columns. The space required for each item to print is shown later in this section.
Total This Item
This option allows you to total different numeric columns on your report. This field must either contain a 0 (do not total) or a 1 (total this column). Alphabetic columns cannot be totaled.
Or check out our special User's Only site at: planetacs.net/user


